Register now to gain access to all of our features. Once registered and logged in, you will be able to create topics, post replies to existing threads, give reputation to your fellow members, get your own private messenger, post status updates, manage your profile and so much more. If you already have an account, login here - otherwise create an account for free today!

Forged Satria GTi - Build - Dyno Sheet & Vids Pg4!
#41

 Posted 15 September 2013 - 09:57 AM

I haven't cranked it over yet, hopefully only a few weeks away....
#42

 Posted 15 September 2013 - 01:31 PM

#43

 Posted 15 September 2013 - 10:51 PM

Not sure on who I'm going to get to tune it yet, hopefully we can at least get it idling and then I'll start calling around/enquiring in some dyno tuners.
#44

 Posted 15 September 2013 - 11:42 PM

#45

 Posted 16 September 2013 - 01:39 AM

And as for lumpiness, I found a video of 272's in a GTi yesterday and that already sounds ridiculous.
#46

 Posted 16 September 2013 - 02:11 AM

http://m.youtube.com...u&v=Nu05RnjMuy0
#47

 Posted 16 September 2013 - 02:17 AM

#48

 Posted 23 September 2013 - 12:59 AM

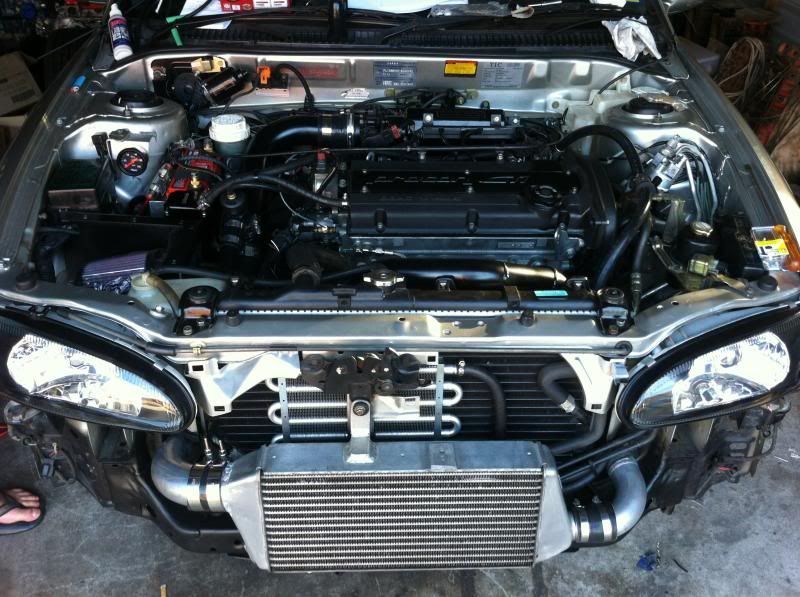
Dummied up some of the cold side plumbing, most of it is pretty straight forward I just need to get some silicone elbows and it all should mount up fine.
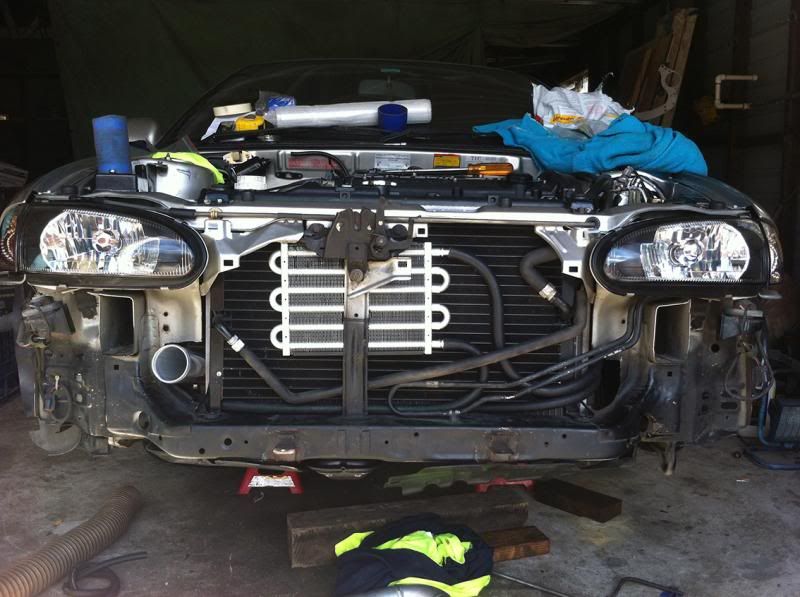
Mounted the oil cooler. It's going to sit between the air con condenser and the intercooler, but half of it will be poking up above the cooler to get air from the front grille. This pic shows it dummied up before hoses were clamped and cable tied.
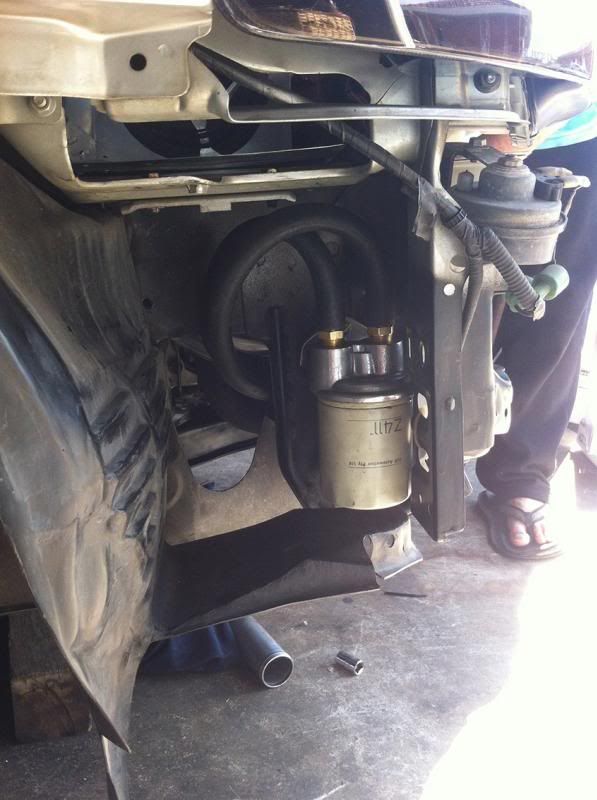
Probably my favourite mod to date, we relocated the oil filter to the drivers side inner guard. This was the only place we had room left but it's perfect because now all you need to do to change the filter is unbolt the plastic inner guard and unscrew the filter.
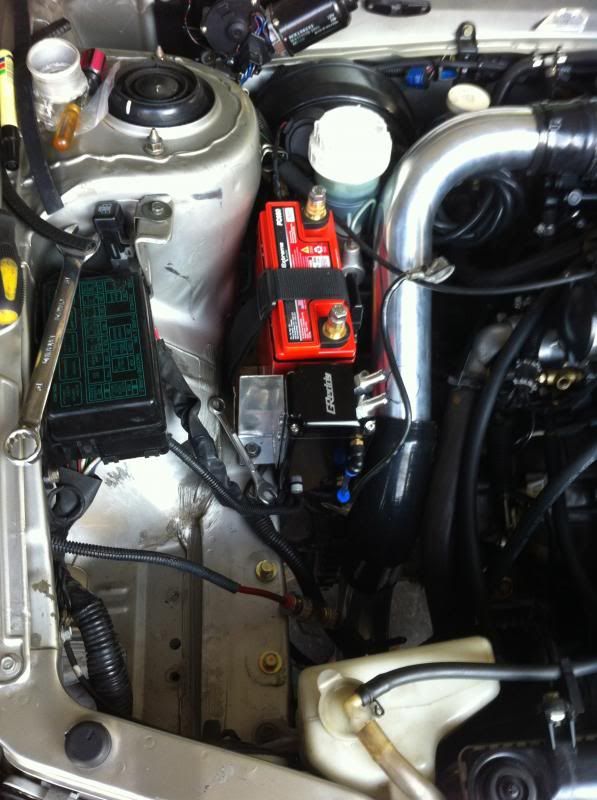
This pic is a bit blurry but shows the Oddyssey battery mounted and the manifold cover now painted in black heat proof paint.
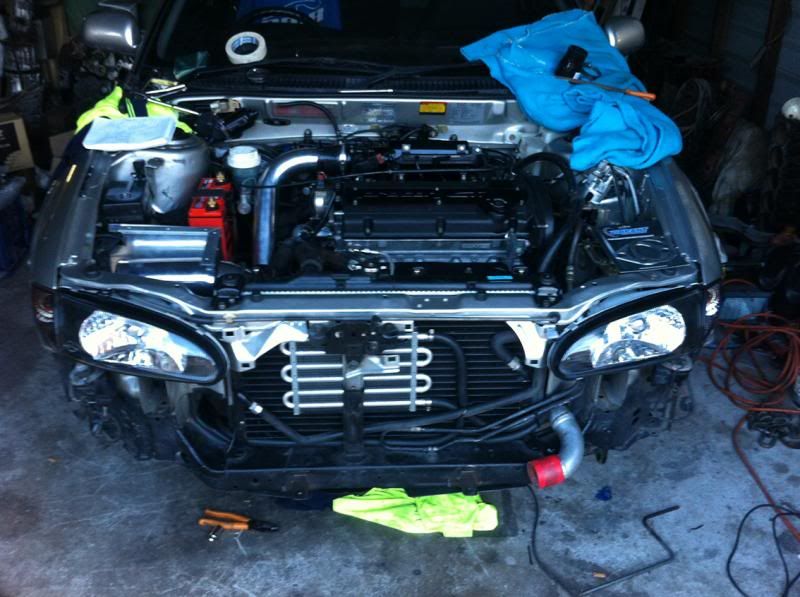
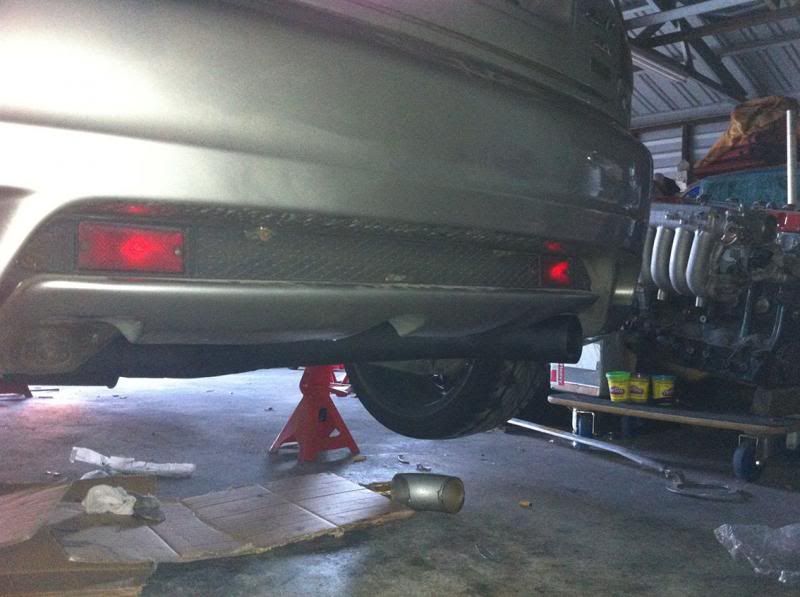
And finally we removed the existing 2.25" exhaust to be replaced with 3" pipes.
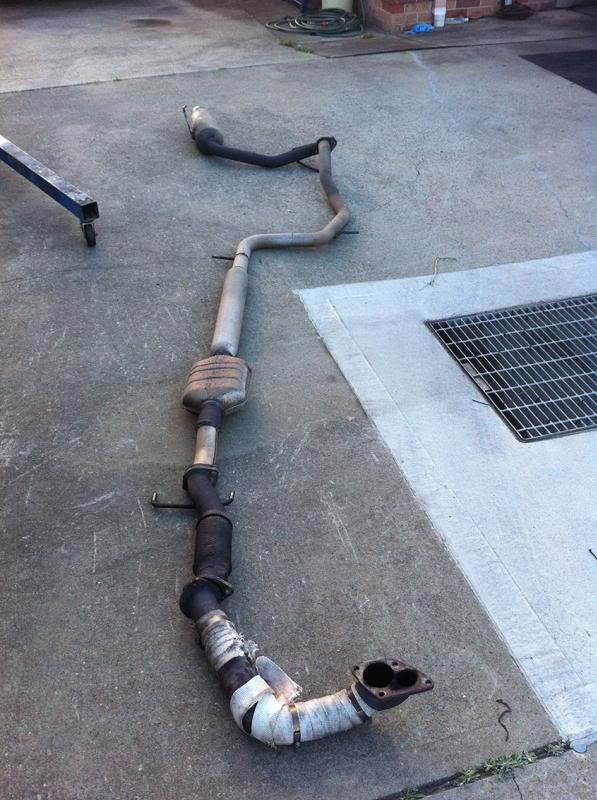
Next week we'll be welding up the new exhaust, fitting the catch can, finishing off plumbing and enlarging the hot side of the cooler to 2.5".
#49

 Posted 07 October 2013 - 11:35 PM

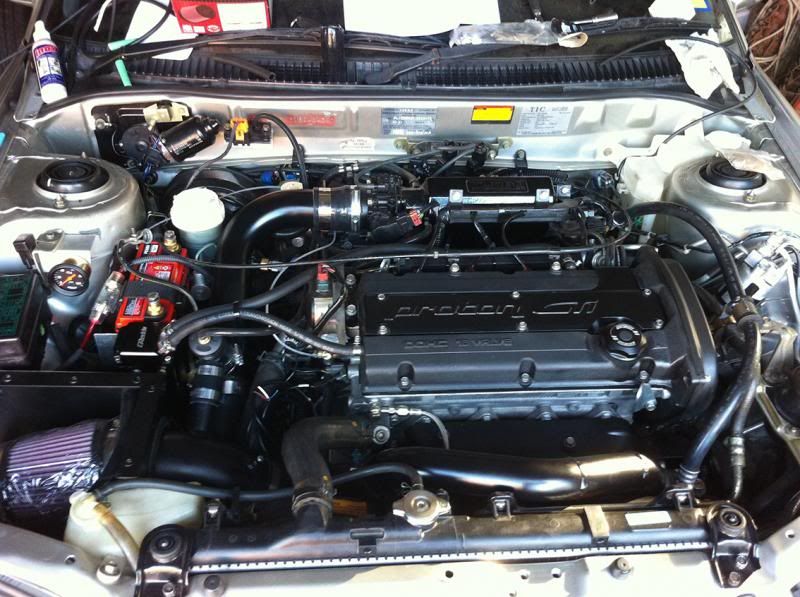
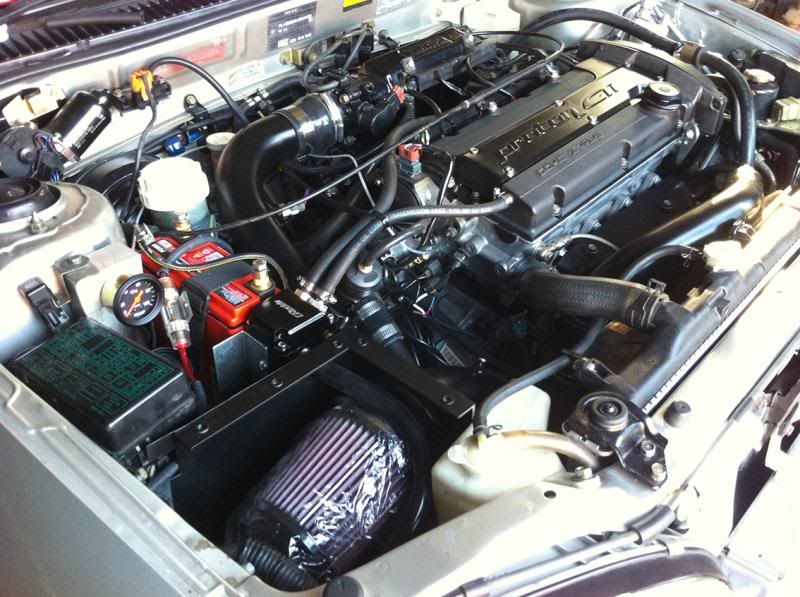
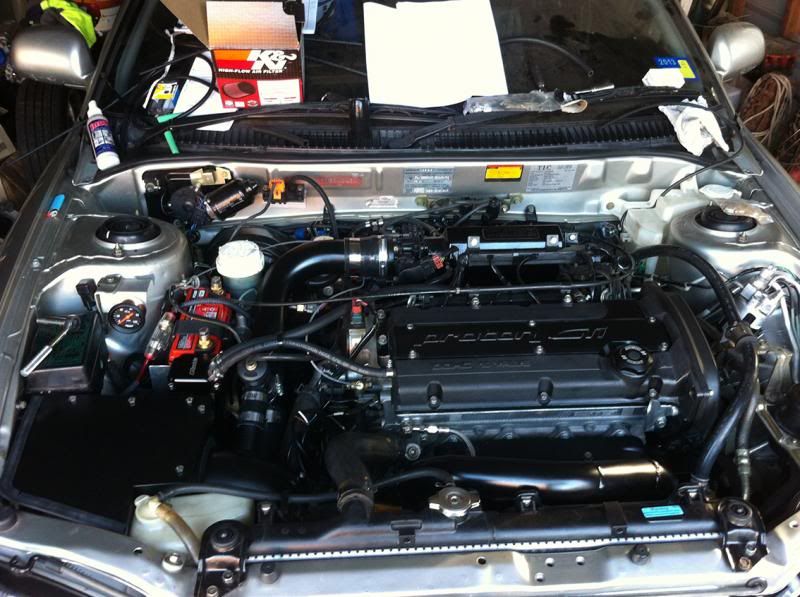
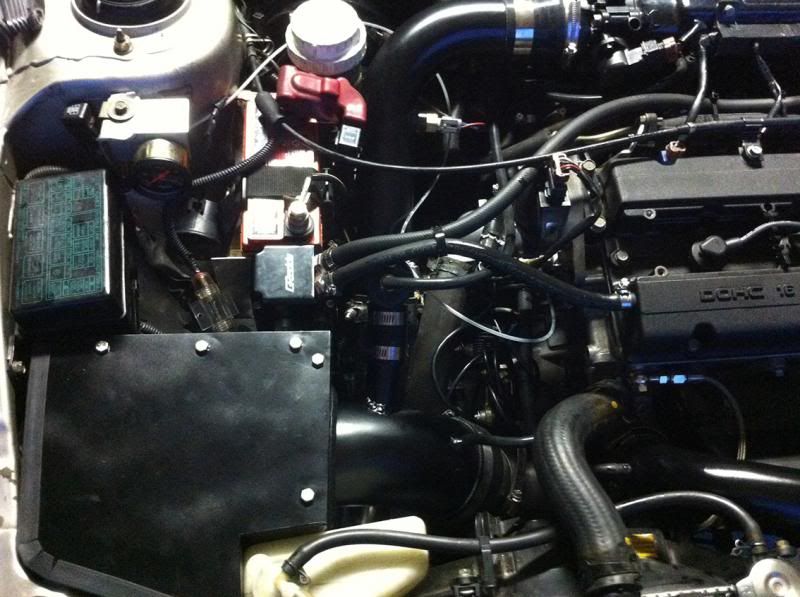
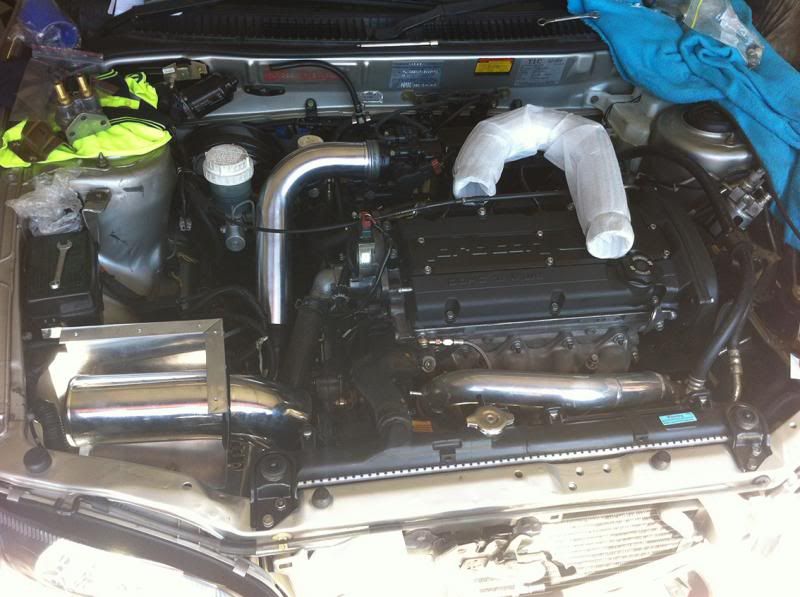
Battery mounted, air box dummied up and cooler plumbing almost finished.
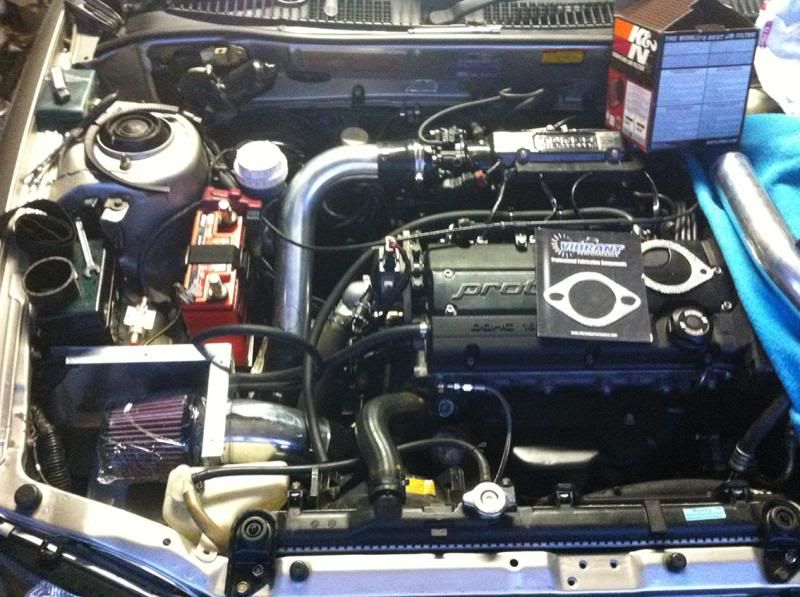
Better pic of the air box and battery...
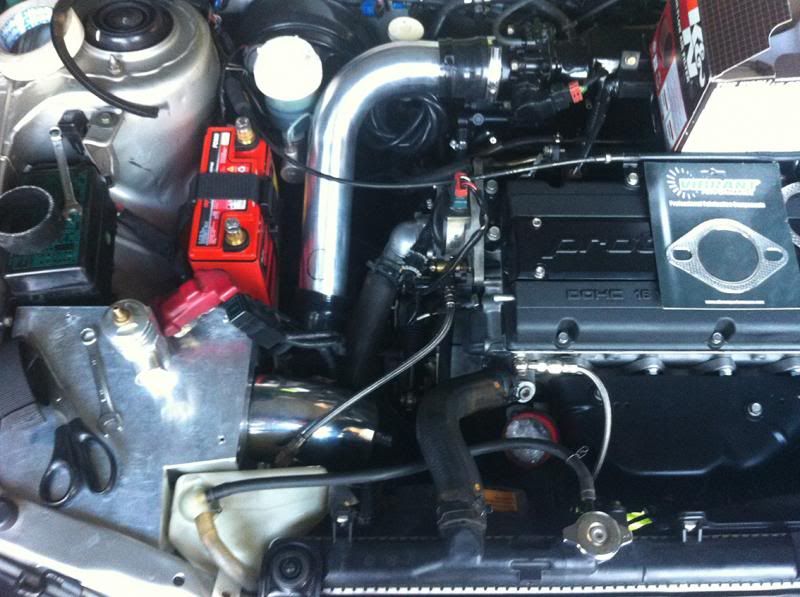
Cold side 2.5" plumbing meeting VR4 cooler (yet to be opened up)
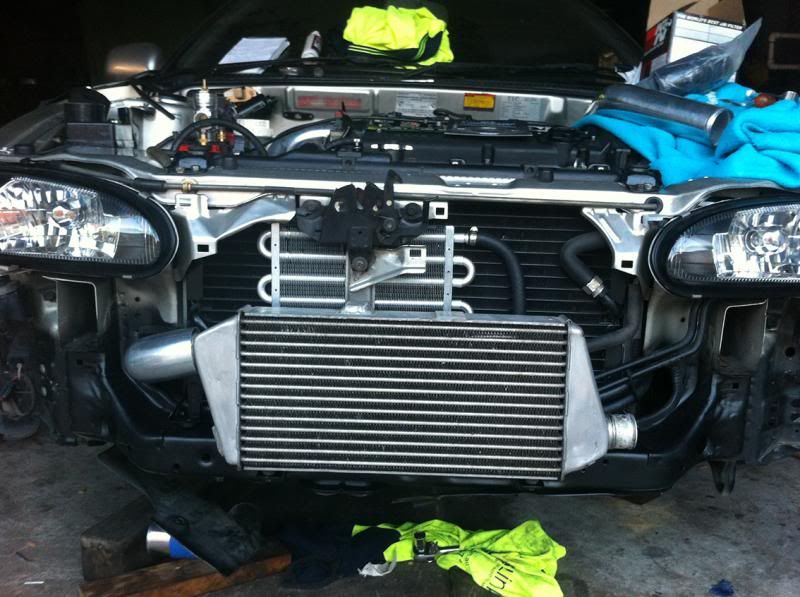
I've put pinch weld around all the holes where the cooler piping runs through to avoid it rubbing and wearing through the aluminium pipe.
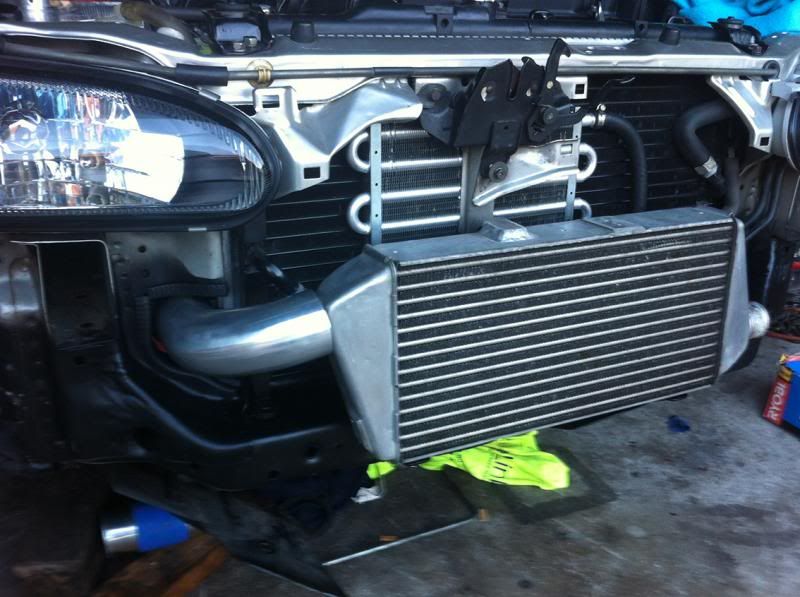
Catch can mounted...
Cold side of cooler opened up with die grinder to match plumbing size. Still to be welded.
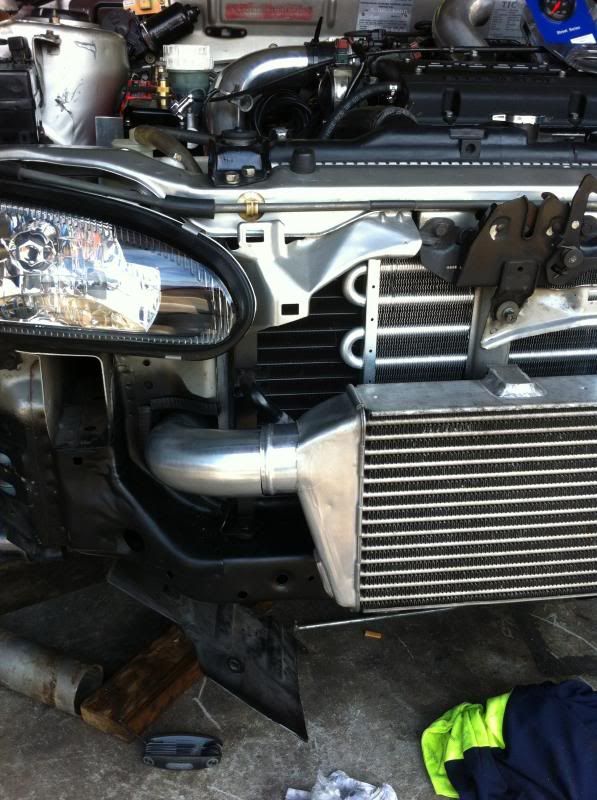
In this pic you can see that I cleaned up and re painted the lower support panel on the front as well as the intercooler brackets as I was getting a bit of surface rust.
All starting to take shape now...
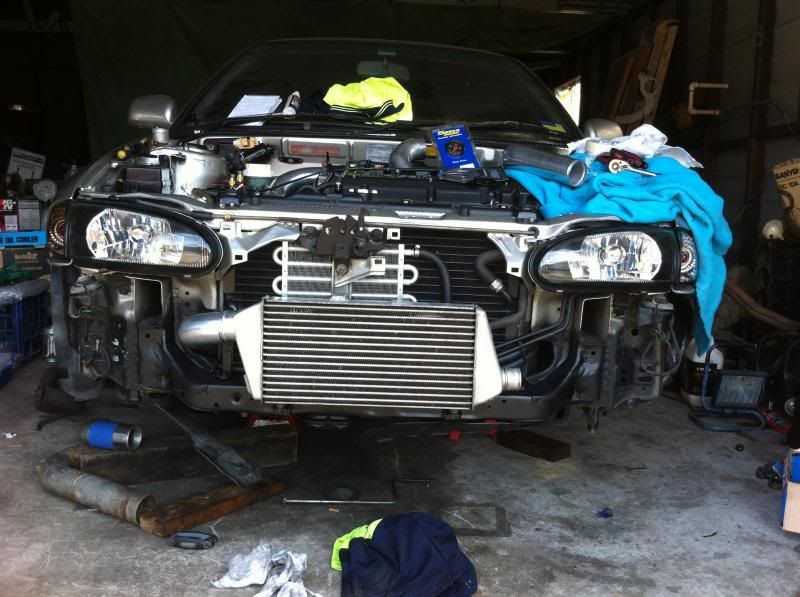
I also mounted the oil pressure gauge in the engine bay but didn't get any photos of that.
Going away for a couple of weeks but when I get back I'll be sending the cooler off for welding up and a few other bits including bov outlet, plumb back pipe, temp sensor bung and a few other odds and ends.
Didn't get a chance to start on the exhaust but we'll get to that next and then start wiring up the ECU.
#50

 Posted 31 October 2013 - 08:41 AM

#51

 Posted 01 December 2013 - 11:32 PM

Well, a few updates guys.
- Plumbing welded
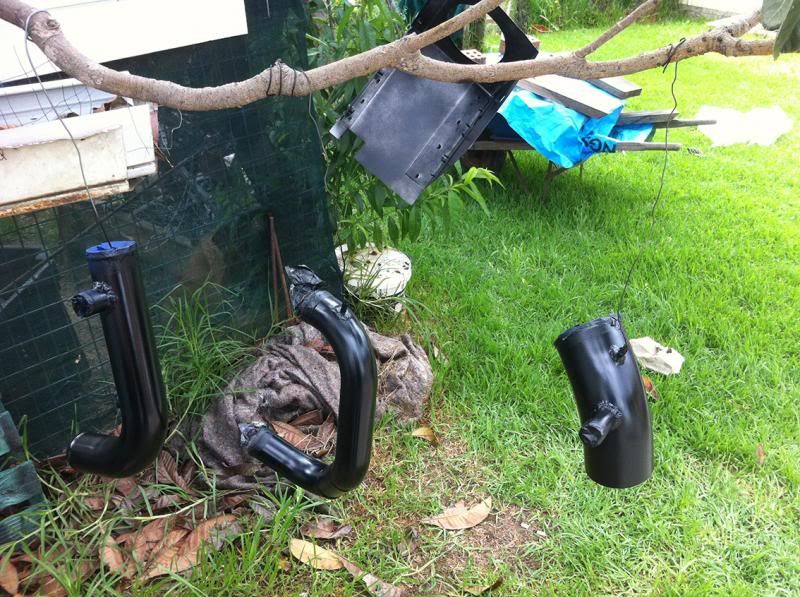
- Plumbing painted black
- Exhaust finished
Just need to wire up the ECU and tune now.
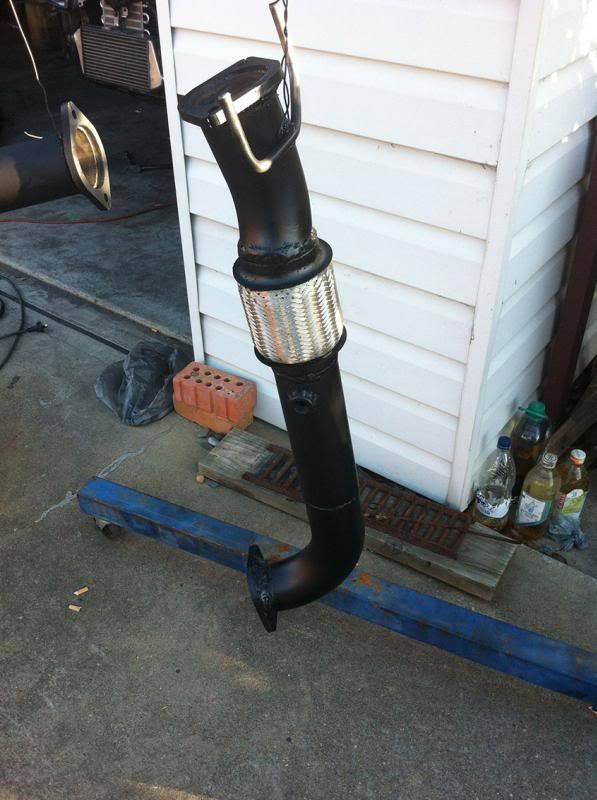
Exhaust was made up with scrap pipes we had laying around. It's 3" all the way through.
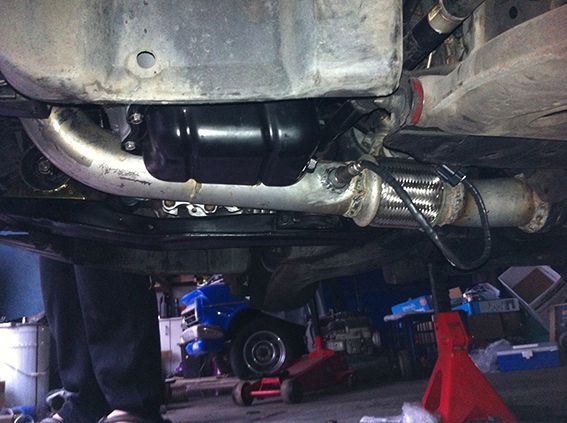
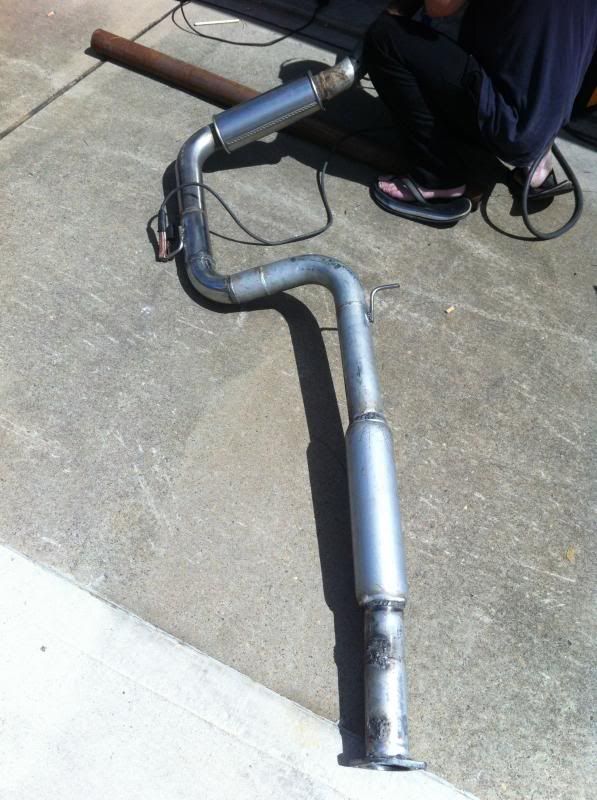
Amazing what a difference a hit with the grinder and some heat proof paint makes!
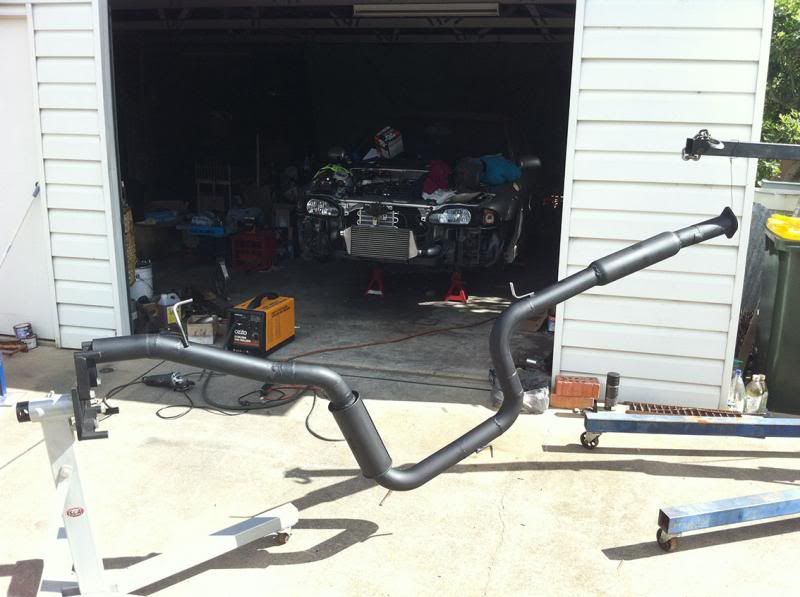
Down pipe...
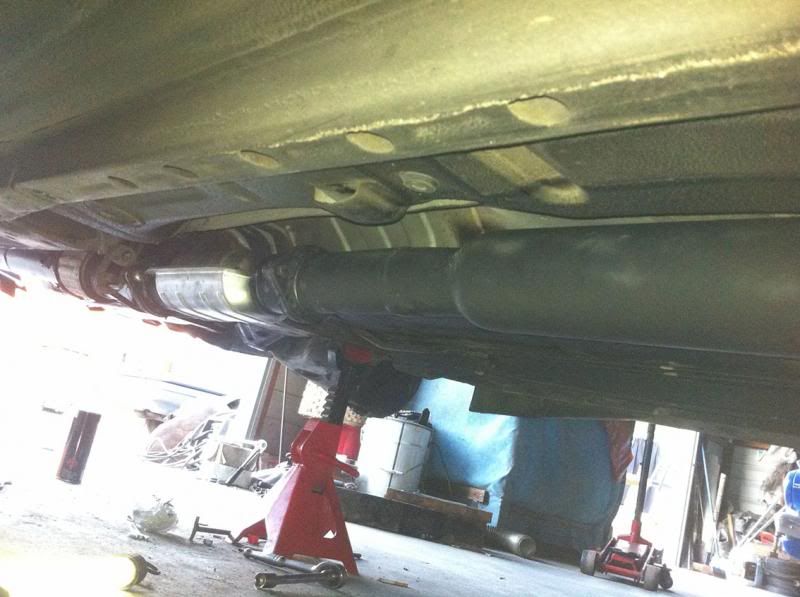
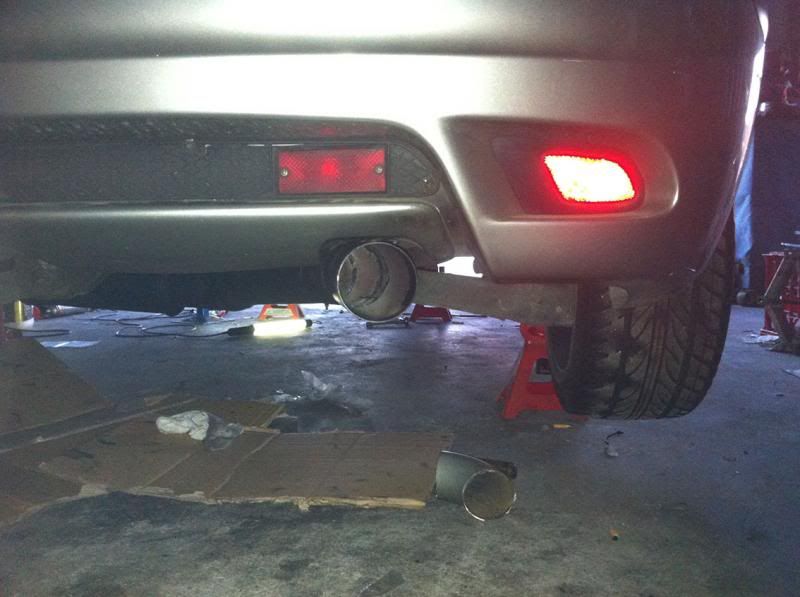
Mounted under the car it actually sits a lot higher than the old 2.25" system I had on before.
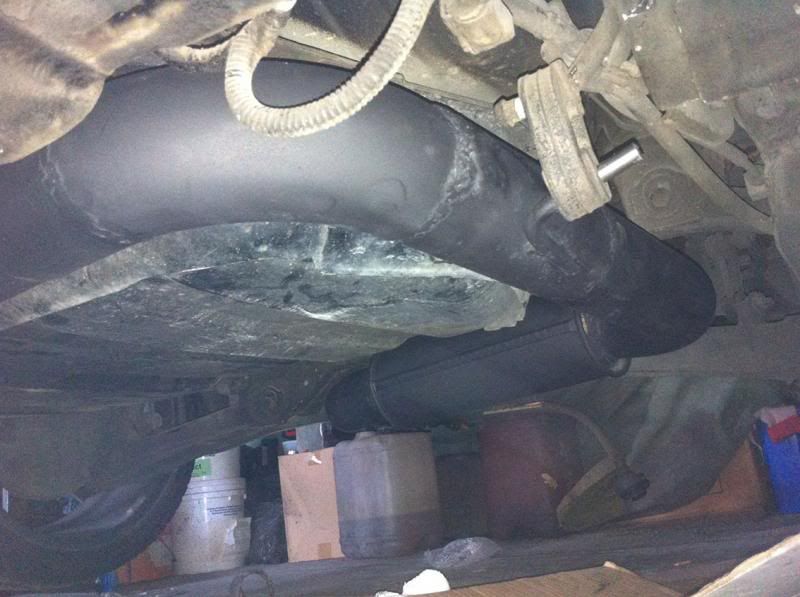
We managed to route it around the fuel tank and hid the muffler behind the tank itself.
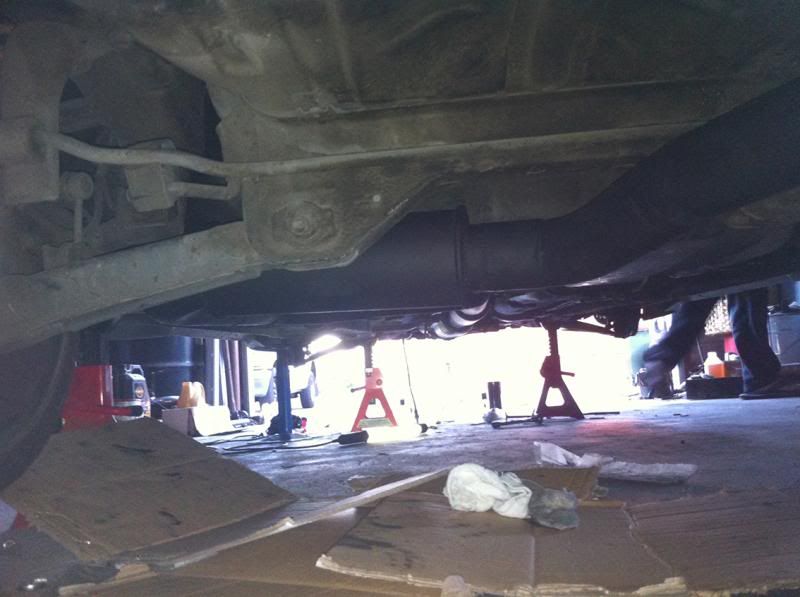
Back pipe comes up between the suspension rather than over and around
Stealth black tip
Plumbing drying...
Hopefully wire it up and crank her over next weekend.
#52

 Posted 02 December 2013 - 12:09 AM

Im pretty sure you could use the awd tank and means u can have the exhaust run straight down the centre instead of around the tank
- ted likes this

------------------------- 4G63T AWD COUPE -------------------------
----------------------- WWW.EVOCOUPE.NET -----------------------
#53

 Posted 02 December 2013 - 12:19 AM

Yeah, I got a bit lazy and didn't want to pull the tank out again after putting the new fuel pump in. Also wasn't sure if it's a straight fit with the filler neck and the mounting points.
It's 3" and mandrel bent so should flow enough for the little 1.8L. I've seen some aftermarket Evo VI exhausts that run a similar path so should be fine.
#54

 Posted 02 December 2013 - 06:57 AM

Loving the make-shift spray booth! I hang my parts to paint from the clothesline.
#55

 Posted 02 December 2013 - 09:50 AM

#57

 Posted 09 December 2013 - 07:06 AM

Trust in the master of taxis.... He will set you straight[/quote]
#58

 Posted 09 December 2013 - 09:21 AM

#59

 Posted 19 December 2013 - 09:54 PM

#60

 Posted 20 December 2013 - 02:46 AM

Nah, haven't had a chance to go back and give it another crack yet. Usually work on the car every Sunday but had to miss out last week due to other commitments.
Hopefully after this Sunday I'll have video of it idling. Can't wait!
1 user(s) are reading this topic
0 members, 1 guests, 0 anonymous users


 Back to top


