jett
Member
Hey Guys - I thought i'd post up a little how to on replacing those busted old rubber engine mounts with polyurethane without paying through the nose for ralliart inserts or buying ebay jobs that don't fit...
Firstly you will need to measure the diameter and width of all four of your engine mounts so you can work out how much polyurethane rod you will need. I calculated ~170mm long x 80mm diameter for four CC sedan engine mounts. Once you know how much you need go an buy yourself some polyurethane rod - a shore rating of 80-100 is best. Lower rating (softer) for the average street driven car and higher (harder) for a hardcore track car...
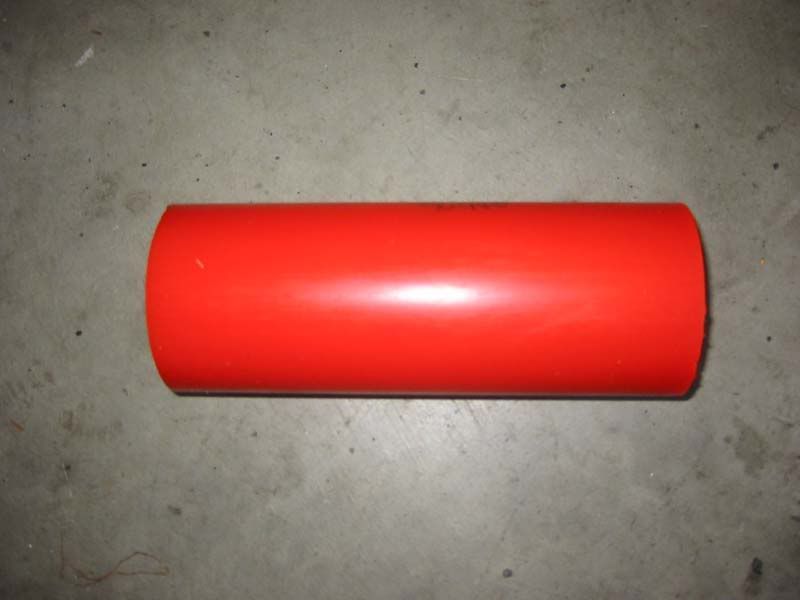
Here is 200mm of PU rod with a shore rating of 94 that cost me $43
Next remove the engine mounts from the car - you will probably need to do them one at a time unless you have an engine crane or similar.
Using a die grinder or hacksaw cut through the inner metal tube to which the rubber is bonded. Once it is cut through the insert should push out easily by hand.
With a stanley knife remove all the rubber from the crush tube (where the bolt goes through) and set aside as you have to put this back in.
Depending on the size of the PU rod compared to the engine mount (and of course how huge you are) you may have to cut down the PU rod to fit it into the now hollow mount. A bench grinder makes short work of this - otherwise you will have to cut the sides off witha hack saw and fish up with coarse sandpaper. Don't make it too small as you want it to fit very tightly. With a hammer or vice insert the PU rod into the mount...
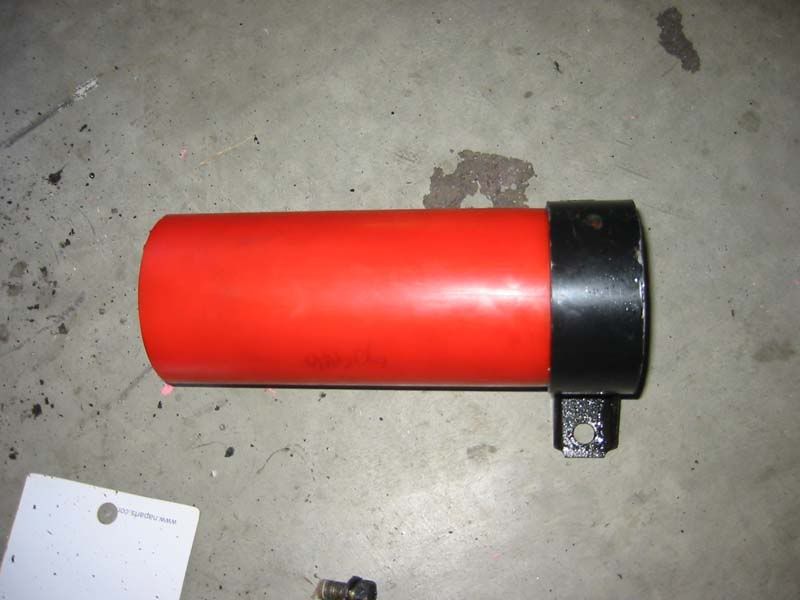
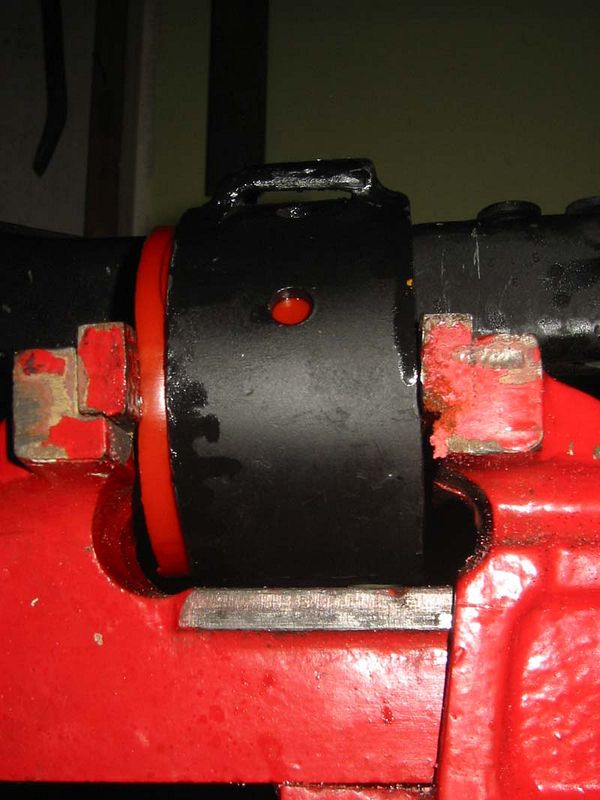
Now cut the rod off flush with the side of the mount with a coarse hacksaw.
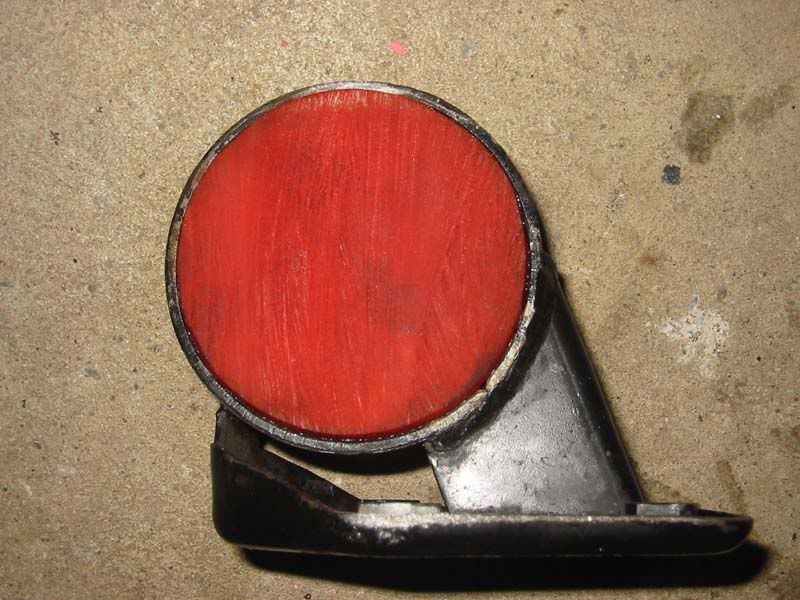
Next mark the centre of the mount and drill a hole for the crush tube - 1mm smaller than the tube is a good size. Insert the tube with a hammer or vice.
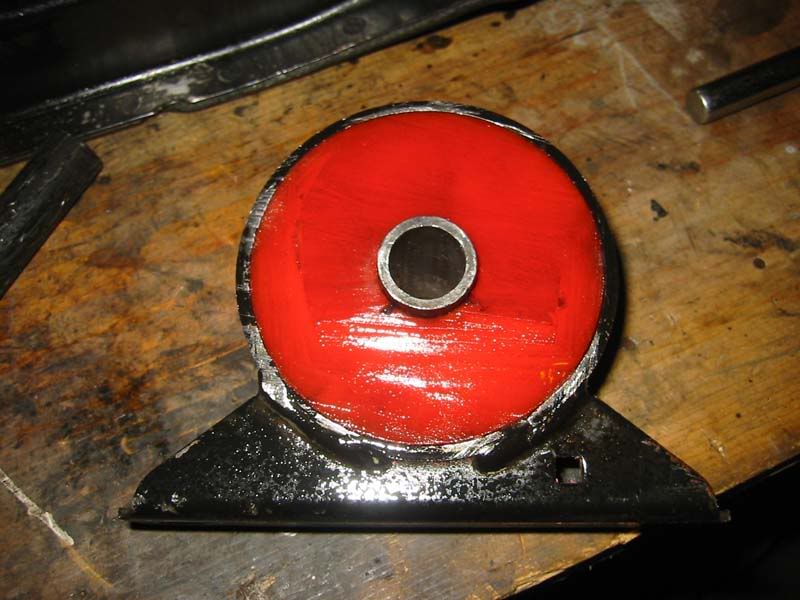
Replace the mount back into the car and continue with the remaining mounts.
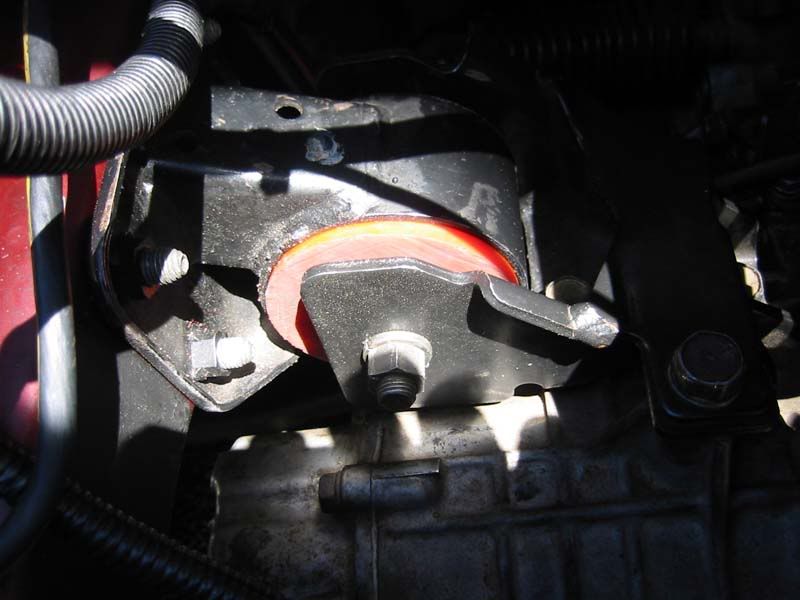
You may find that there is increased road/engine noise inside the cabin as well as vibrations - especially if you use a harder PU. But the increase in handling and throttle response is incredible. And for $43 and a couple of hours work its a cheap and easy upgrade.
Cheers Jez.
Firstly you will need to measure the diameter and width of all four of your engine mounts so you can work out how much polyurethane rod you will need. I calculated ~170mm long x 80mm diameter for four CC sedan engine mounts. Once you know how much you need go an buy yourself some polyurethane rod - a shore rating of 80-100 is best. Lower rating (softer) for the average street driven car and higher (harder) for a hardcore track car...
Here is 200mm of PU rod with a shore rating of 94 that cost me $43

Next remove the engine mounts from the car - you will probably need to do them one at a time unless you have an engine crane or similar.
Using a die grinder or hacksaw cut through the inner metal tube to which the rubber is bonded. Once it is cut through the insert should push out easily by hand.
With a stanley knife remove all the rubber from the crush tube (where the bolt goes through) and set aside as you have to put this back in.
Depending on the size of the PU rod compared to the engine mount (and of course how huge you are) you may have to cut down the PU rod to fit it into the now hollow mount. A bench grinder makes short work of this - otherwise you will have to cut the sides off witha hack saw and fish up with coarse sandpaper. Don't make it too small as you want it to fit very tightly. With a hammer or vice insert the PU rod into the mount...


Now cut the rod off flush with the side of the mount with a coarse hacksaw.

Next mark the centre of the mount and drill a hole for the crush tube - 1mm smaller than the tube is a good size. Insert the tube with a hammer or vice.

Replace the mount back into the car and continue with the remaining mounts.

You may find that there is increased road/engine noise inside the cabin as well as vibrations - especially if you use a harder PU. But the increase in handling and throttle response is incredible. And for $43 and a couple of hours work its a cheap and easy upgrade.
Cheers Jez.
