DIY SUMP GASKET GSR / EVO

4GTuner

Help Support 4GTuner:

clone

self employed bum
Joined
Sep 18, 2009
Messages
1,075
Location
Townsville
Gday,

First of all i completed this due to my sump / oil return line leaking oil. Before you do this please check the tension of all your bolts before going this far as you may not need to as i did.

Some bolts are hard to get to since your transfer will be in the way but with the correct tools its archieveable

Tools.

1/2 inch rachet and 17 / 19 and 24 mm sockets
3/8 inch rachet with 12mm socket and extention ( if you have a universal joiner your in luck )
12mm spanner
17mm spanner ( ring / open combination preferably )
19mm spanner
mallet ( rubber hammer )
(if you wanna do your oil pickup as well do it now as yeah this isnt a 5minute job )
Raser blade ( or stanley knife blade )
Loctite 732 multi purpose sealant ( although you can use most gasket sealants, the 732 seals quickly and effectively )
Lever Bar ( big flat tip screw driver )
Multigrips ( standard 0 - 35mm, or any kind of grips as they are only used once )
Engine oil ( i use penrite hpr 5, as long as your use a suitable oil it will make little difference
Hoist ( best thing ever if you can get your hands on one as this will be that much quicker instead of getting under the car and out to get tools etc)
Pnumatic Access with tools makes thing easier also
Kerosene bath


Okay start by getting the engine hot before you drop the oil, this will assist in draining the engine as hot oil has lower viscosity allowing it to flow easier (ie empty quicker)


Using 17mm spanner undo your sump plug and drain oil into container.


Once oil it drained replace dump plug ( replace washer if you have a spare ).

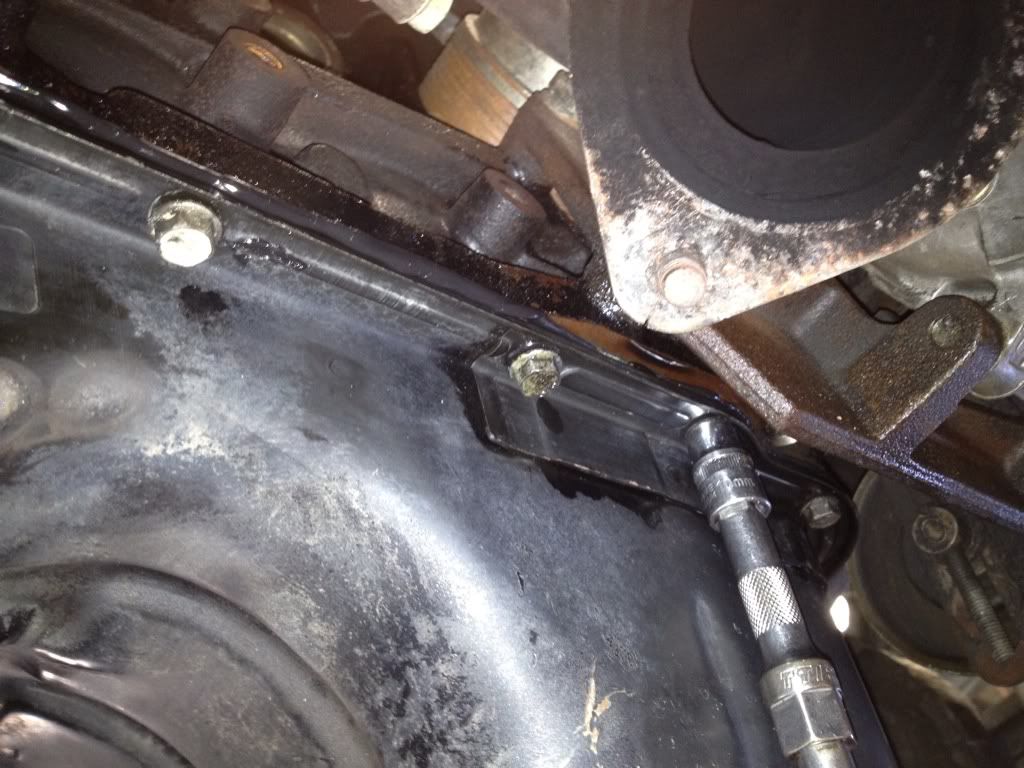
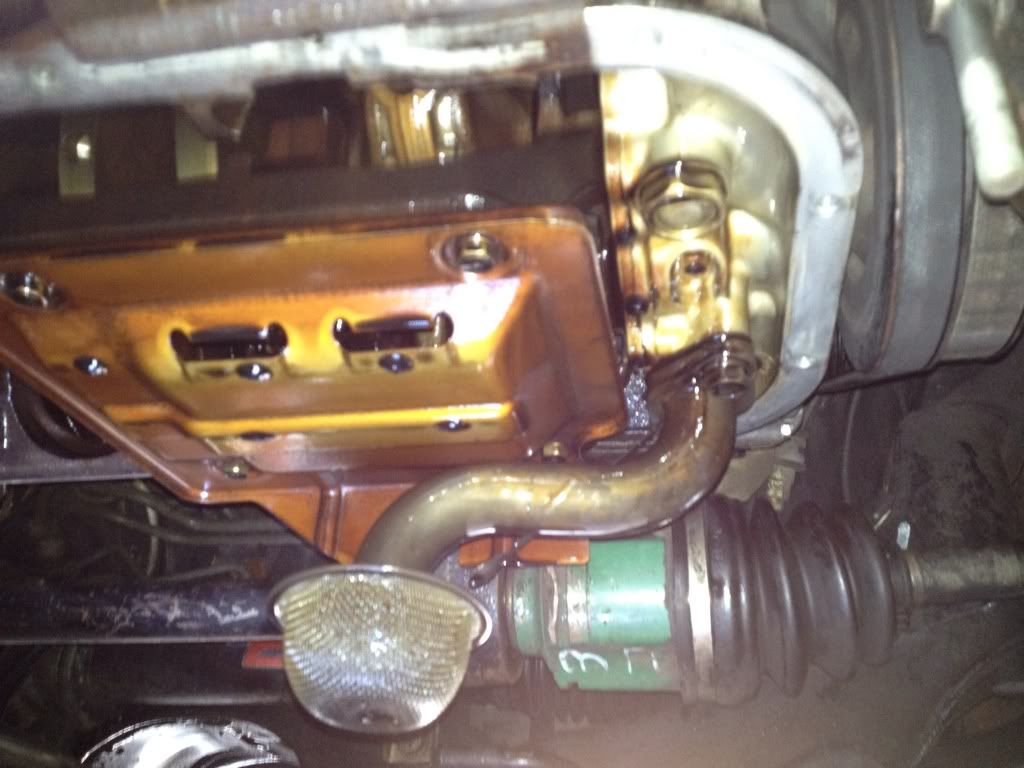
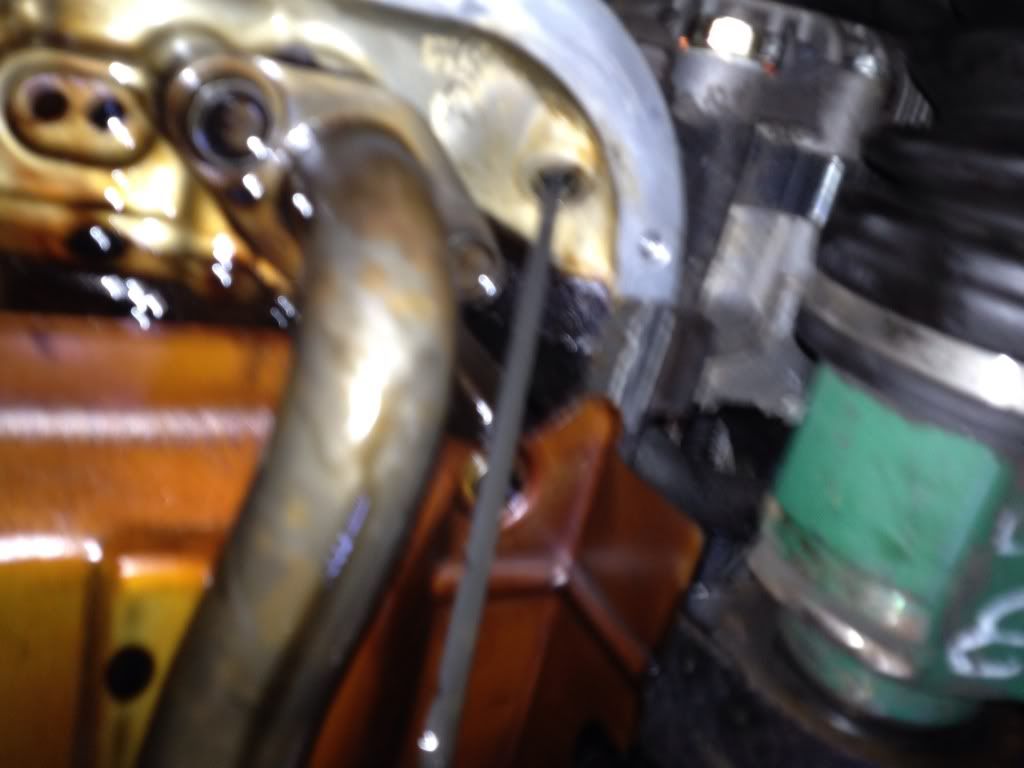
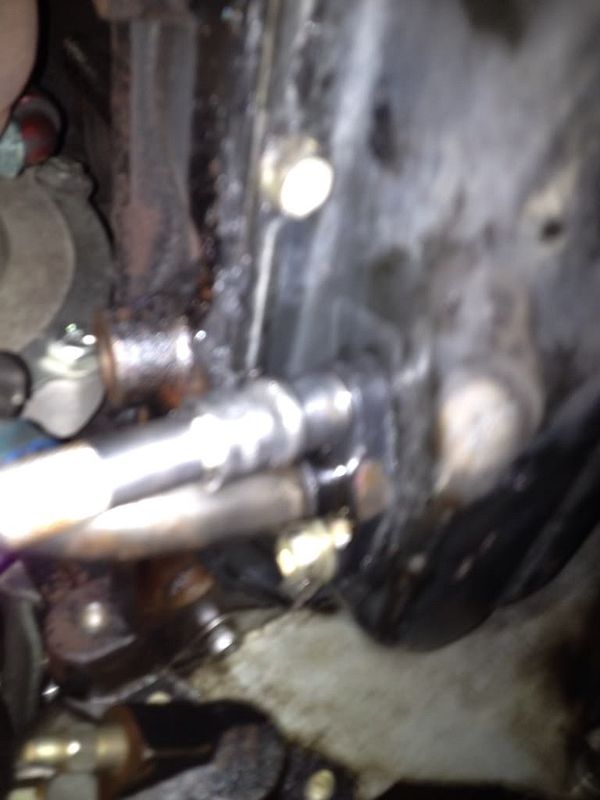
Remove the oil return line from the sump using the 12mm socket or spanner and turn it away ( clean any gasket sealant here and reapply after the sump is back on )
e2a1b4ca.jpg

b19c5104.jpg


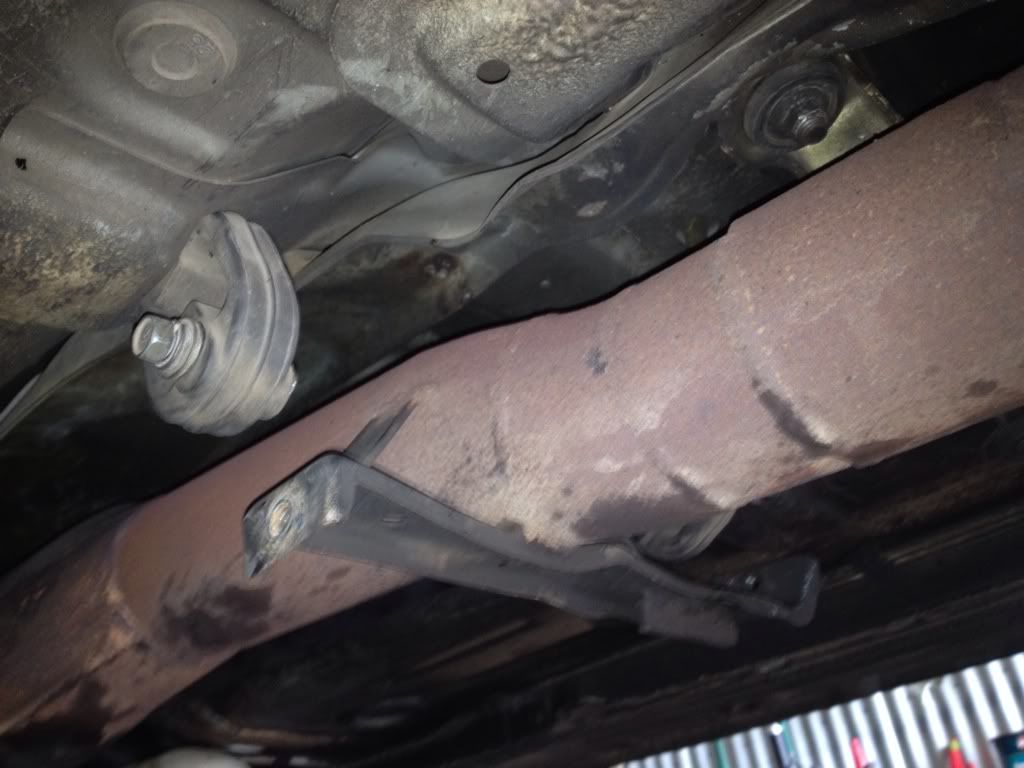
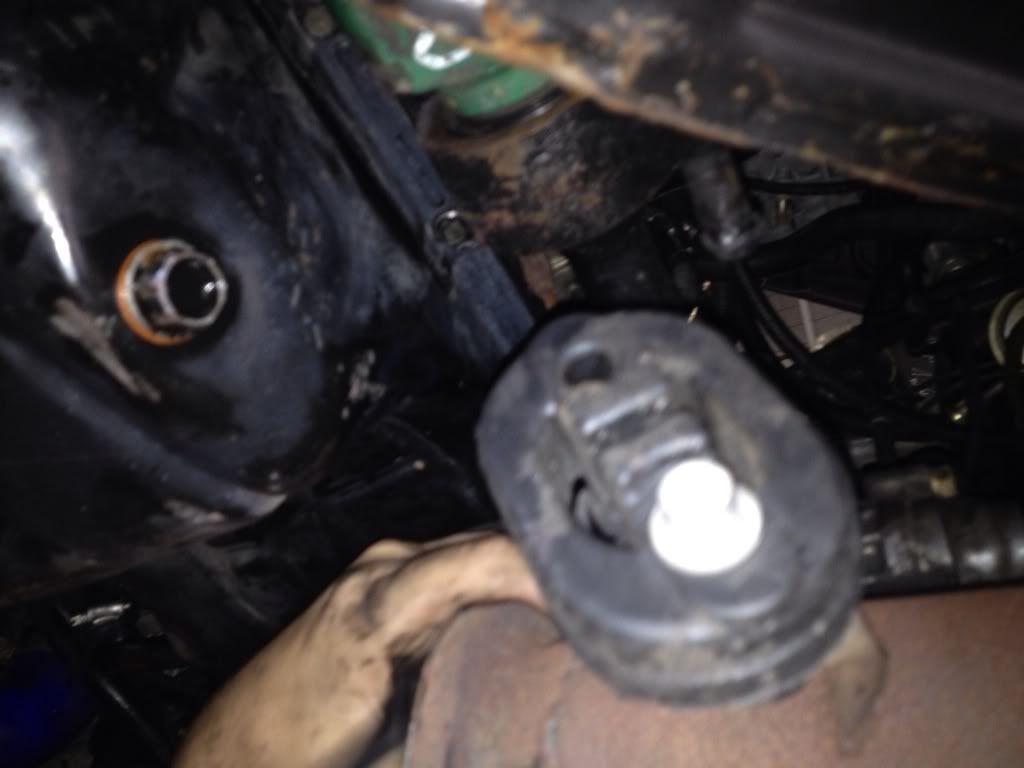
Remove the exhaust pipe between your dump pipe and your hotdog ( this will be different for everyone as i imagine not many people getting around with standard exhaust ) i had 2 19mm bolts at the dump and 2 17mm bolts at the hotdog. Remove this pipe

Now moving aside any other exhaust so that the tranfer case will have enough room to come out by about 4-5 inchs.
ee5fcf82.jpg

ab964e39.jpg


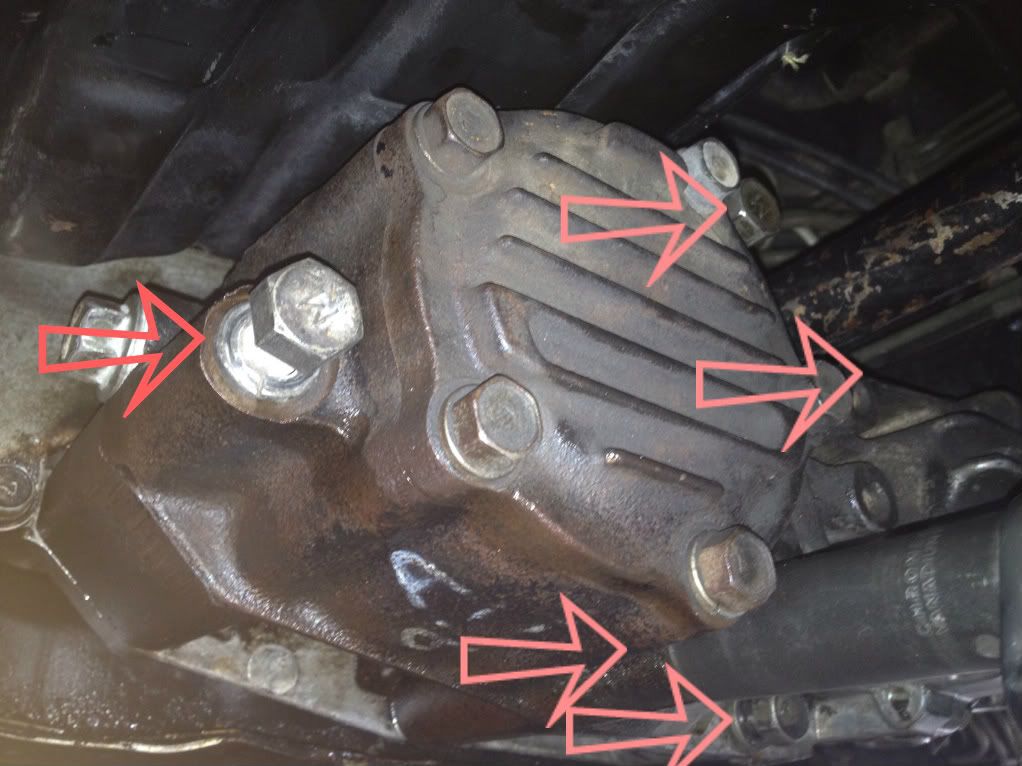
The transfer case is held together by 5 bolts all with 17mm heads
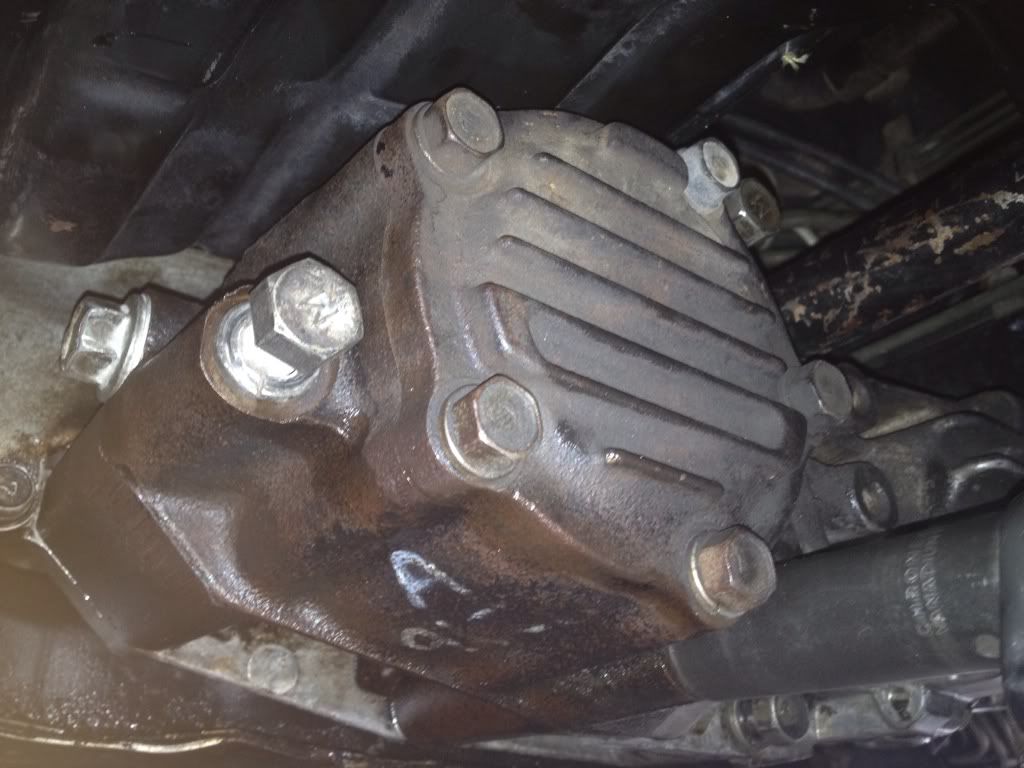
371921bc.jpg

371921bc-1.jpg


Remove these bolts remember where each one went ( there are 3 different bolts, 2 short ones , 2 med ones and 1 long one. You will notice if your putting them in wrong as they will tighten early with alot of bolt still sticking out.
 
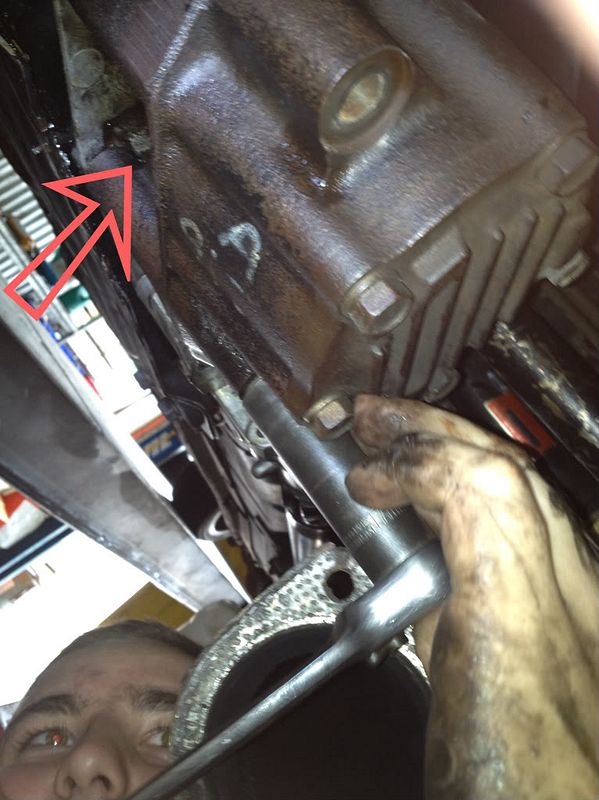
Once you have removed these bolts, Using a lever against the lower section of the transfer case, pull off the transer ( BIG HINT HERE, if your using a hoist find something about that height like a bin etc to situate the transfer onto so your dont have to take our your prop shaft, if you on the ground well big win for you ) the transfer case can be hard to pull off if the shaft is coming out with it so using your multigrips or pliers etc try and rotate / push the shaft back into the box so you have the room to take away the transfer case.
899b2d7a-1.jpg


You should now have the transfer case away from the bell housing. You should now have access to all the sump bolts. Remove all the sump bolts as the previous gasket cement should hold the sump up easily. Now using the mallet and holding the sump, smack the bugger a couple of times until the sump drops. It may take abit of convincing but it will come eventually
8a05fb2f.jpg


( If your going to replace your oil pickup pipe do so now, when you install the new one have a white grease spread on the oil o ring on the new pickup and install )
ad15bd75.jpg

d49955c2.jpg


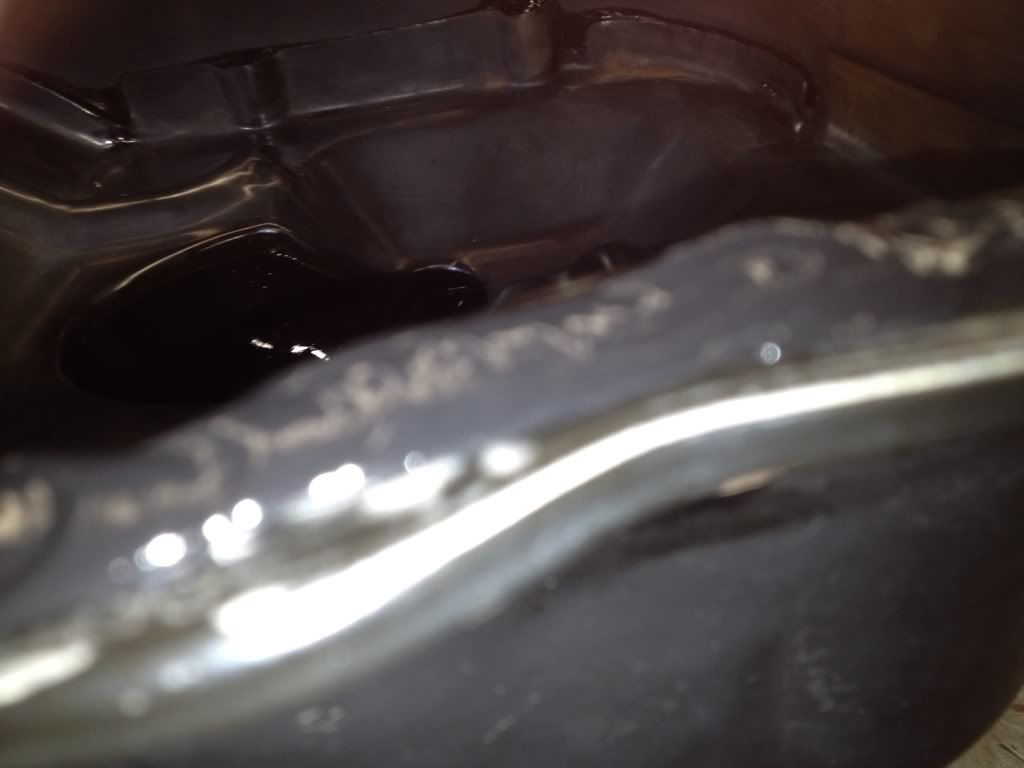
With the sump off you can clean it or not ( i used a kero bath , cleaned all the residue off it and then make sure to wash it down with water then use compressed air to blow out any extra water ) clean all the old gasket off ( the sump and as well as on the bottom of the block ), do try and get as much of as possible as the move off, the better seal you will archieve with the new gasket sealant. Use plenty of gasket sealant ( more the merrier ) dont skimp here as if you put it all together and it leaks you will kick yourself. Squeeze a bead of gasket sealant about 5 cent coin wide over the surface even over the bolt holes.
5187ba6a.jpg

0ab68824.jpg


With the new gasket goo on, affix the sump back up the the block and get all the bolts in atleast 3 or 4 threads but not tight yet. With all the bolts in start from the longest side in the centre and like your head bolts keep switching sides moving away from the middle to prevent any warping of the sump.

Place the sump back on. Locate the transfer case back onto the housing using the dowls as a guide.
897fcb5b-1.jpg

( i happened to have a f$#%ed thread on my lower long bolt thread. so i had to helicoil it which ill add a quick DIY at the end ) replace the 5 17mm head bolts in the order they came off ( Not sure about torque settings as im a dirty army mechanic not a real one, i use about 2 clicks of the elbow )

Once the bolts all in and tight replace your exhaust pipe and rince and repeat the same way it came off but opposite obviously.

Re secure the oil return pipe to the sump using a smear of your gasket sealant if you dont have a real gasket. Tighten the 2 12mm bolts and tudah!

If you wanna do the righty replace the oil filter and fill engine with about 3.5 litres of oil. Let the oil settle down to the sump before you start up your baby ( ie 2 - 5min )

Check the oil level again as the oil level ( only if you replaced your oil filter as it will take 200-400 mls and top up as neccessary till your on the top notch of your dip stick

All done , test drive etc have fun blah blah


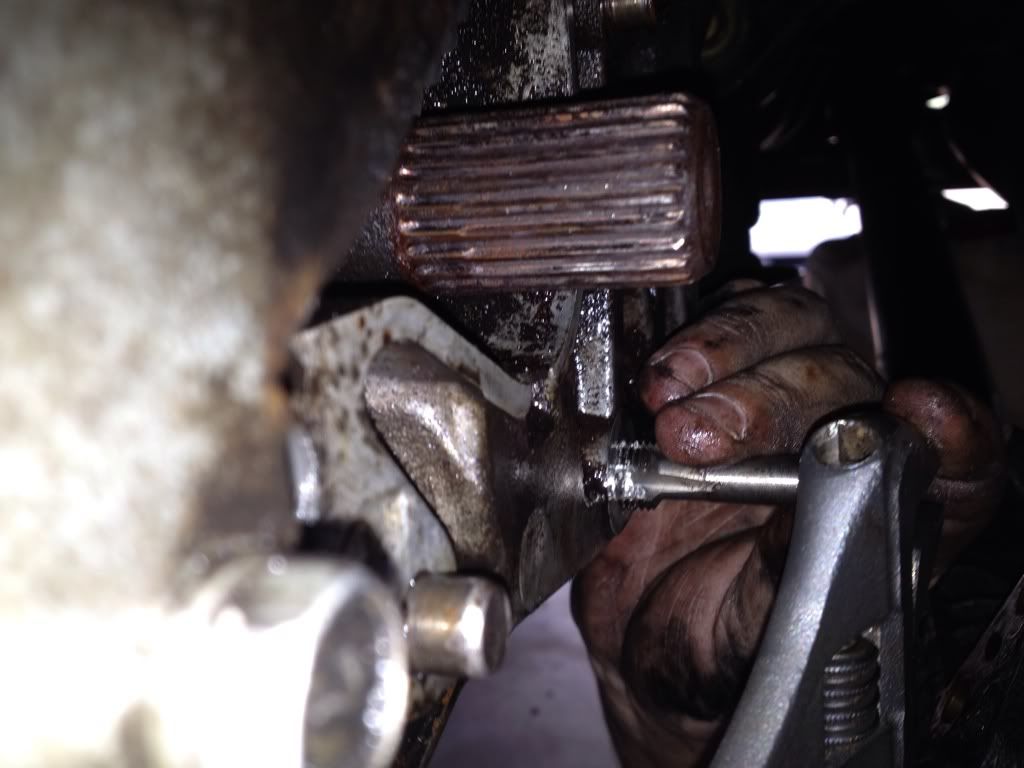
Helicoil DIY time

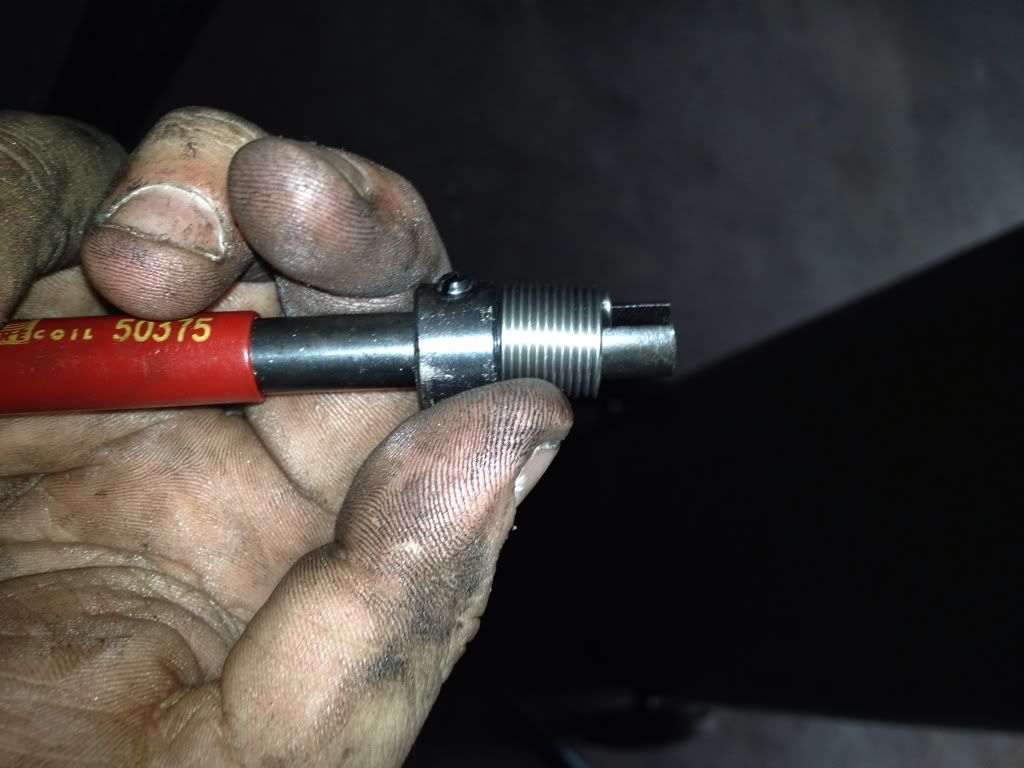
Before anything make sure that yes the thread is kapoot. If you have the bolt take it to your local tool shop / parts supplier and match the thread to the helicoil kit ( not sure about price since i shopped army for this one :D )

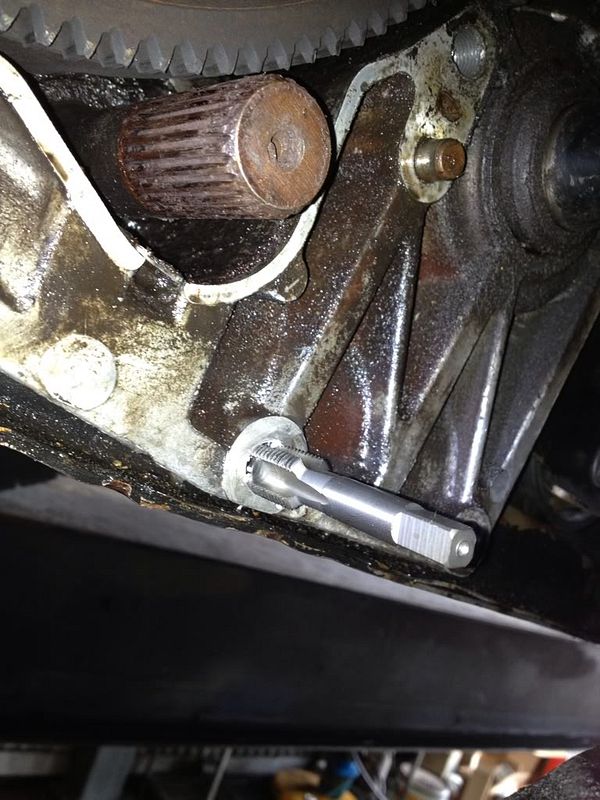
Use the Tap in the buggered thread until the second stage. ( the first stage will match the current thread , the second stage will match the thread pitch but be 2 mm bigger, the helicoil will take up the 2mm difference once you have tapped it )
3a1d09e8.jpg

When you come to the second stage being very careful, rotate one full turn and then half a turn back ( if you have any kind of oil lubricant ie DWF, 5.56, WD40 anything really to prevent breaking the thread on the stage tap ) spray abit on then again one full turn and half back then spray .
3c64e555.jpg

Do this till your depth if reached or you go through to the other side ( this will depend on the location etc of the hole so be smart about it )

Once you have done this attach your heliocoil to the helicoil installer and begin to thread the little bugger in. Once she is past flush with the start of the hole retract the installer and invert a quarter turn and press against the middle tip. Smack the back of the installer to break if off. Retrieve the broken bit if its in a hole or it fell out etc.
397016a5.jpg


And Wallah! no need to repair thread etc helicoil ftw!
 
I hate taking the transfer case off from under the car... can be a real pain sometimes especially when you dont have a hydraulic jack to put under it to support the weight on removal and when you reinstall it :lol:

Dayam, looks like youre also leaking oil pretty bad from the gearbox's transfer shaft seal.
Whilst you were there with everything out of the way and the transfer case off, it would have been a good opportunity too :(
Keep an eye on your gearbox fluid level in the meantime until you get a chance to replace that seal with a new one.
They are called a 'centre diff output shaft seal' and should be around $10 new (part number MD723202).
At least now when you find oil under the car again, you dont have to blame the sump as you know this bitch of a seal is leaking oil too.

When the seal is shithouse, oil leaks through it and onto the spinning transfer shaft where it is spun around and ends up coating the inside of your bellhousing with shit.
The oil from the seal flows down and through the small 10mm wide notch at the bottom. You can see it clearly in the attached pic.
When this happens, you need to dump the oil from the gearbox. Remove the end case of the gearbox to expose the viscous coupling.
Remove the circlip holding the viscous coupling and pull the coupling off. There will be a small ballbearing that you have to watch out for when you remove it.
Once the VC is off and you have the bearing safe and sound, you can then easily pull the transfer shaft out and replace the seal from the transfer case side.
It would also be a good idea to clean the transfer shaft and polish the area where the seal lips against before you reinstall it ;)
 

Attachments

  • Transfer shaft seal MD723202.jpg
    Transfer shaft seal MD723202.jpg
    92.5 KB
  • MD723202.jpg
    MD723202.jpg
    41.8 KB
no problem ill be doing more as i progress on getting the baby atleast road worthy. Any requests while im playing also ill attempt to write them up
 
I hate taking the transfer case off from under the car... can be a real pain sometimes especially when you dont have a hydraulic jack to put under it to support the weight on removal and when you reinstall it
laugh.gif


Dayam, looks like youre also leaking oil pretty bad from the gearbox's transfer shaft seal.
Whilst you were there with everything out of the way and the transfer case off, it would have been a good opportunity too
sad.gif

Keep an eye on your gearbox fluid level in the meantime until you get a chance to replace that seal with a new one.
They are called a 'centre diff output shaft seal' and should be around $10 new (part number MD723202).
At least now when you find oil under the car again, you dont have to blame the sump as you know this bitch of a seal is leaking oil too.

When the seal is shithouse, oil leaks through it and onto the spinning transfer shaft where it is spun around and ends up coating the inside of your bellhousing with shit.
The oil from the seal flows down and through the small 10mm wide notch at the bottom. You can see it clearly in the attached pic.
When this happens, you need to dump the oil from the gearbox. Remove the end case of the gearbox to expose the viscous coupling.
Remove the circlip holding the viscous coupling and pull the coupling off. There will be a small ballbearing that you have to watch out for when you remove it.
Once the VC is off and you have the bearing safe and sound, you can then easily pull the transfer shaft out and replace the seal from the transfer case side.
It would also be a good idea to clean the transfer shaft and polish the area where the seal lips against before you reinstall it
wink.gif

mate ive only just done this again since it was leaking so i used a new seal and used sealant this time. Only thing was my jack shaft slips straight out easily, no need for me to remove the back plate or nothing.... does this sound right to you? lol
 
mate ive only just done this again since it was leaking so i used a new seal and used sealant this time. Only thing was my jack shaft slips straight out easily, no need for me to remove the back plate or nothing.... does this sound right to you? lol

You are definitely missing the ballbearing then. You will not be able to keep it sealed without the ball bearing.
I think it's a 6mm ball (read that somewhere) or 1/4". Obviously it was a us site because it won't be 1/4" lol.
Pop your vc off and measure the hole in the shaft to be sure
 
lmfao thought so , because obviously the gearbox side of the shaft has a gap for a bearing .. lol anyone got pics of what it will look like with the end of?

wow just spoke to my mate who rebuilt it for me lol he actually rememberd that he couldnt a ball bearing from the case but forgot to tell me to replace it. FK MY LIFE, anyone know the exact size of the bearing as ill go down to the local reco shop see if they have spares. Will need absolute size
 
I think it's a 6mm ball (read that somewhere) or 1/4". Obviously it was a us site because it won't be 1/4" lol.

Na you might be remembering my post on this problem.a while back Jack...I'll repost it again for all to see..

the output shaft is held in by a small 6 mm bearing. It shouldn't just be floating, my car had an oil leak a while back which was caused by this detent ball being missed out on being put back in after gearbox rebuild. 
If you remove end case then viscous coupling the ball goes in the hole on that end of output shaft and the shaft only has about 2-3mm of movement then and is locked into place. 
The ball locks it in to stop side to side movement.Without the ball the shaft moves in and out freely not sealing properly and then gearbox leaks oil... I have exploded diagram to show what I mean...Ill post it up...
It would leak like mine did if that output shaft doesnt seal to the seal on gearbox.Which is why Rob suggested polishing the shaft to ensure a smooth surface to seal against.
Another thing I learnt was the output shaft seal and transfer case input seals are both the same on either end of that shaft.. 
The bearing I am referring to that locks output shaft in, is part 22999


outputshaft1-1.jpg


Its an easy enough job to do yourself...just remove the 12mm bolts that hold the end cover to gearbox, I think there is 10 of them from memory, just do it carefully so you dont disturb the sandwich plate. Then remove the circlip which holds the viscous coupling and slide/tap that off the output shaft.
This will reveal a hole in the top of the output shaft which you just drop the detent ball( ball in the pic I posted above) into and Bobs your mothers, cousins, uncle !
Then replace the viscous coupling, circlip, clean old glue off gearbox and end cover re-glue the end cover back on and put the bolts back in..Thats it..
Its piss easy to do yourself....
 
Cheers mate big help as usual , can i confirm is exactly a 6mm bearing? ill do this tomorrow at work
 
If my tired old brain serves me correctly Im pretty sure that is the correct size.....The info above was posted when I had the issue so it would have been fresh in my memory when I posted.
I've just copied and pasted a post of mine from a while back.
 
quote name='evo-gsr' timestamp='1357811026' post='269470']
If my tired old brain serves me correctly


poor old fella....I hope the family gets you a nice rocking chair for those afternoon naps
 
:w00t: :w00t: Thats funny coming from you.......Hows your rocking chair going :lol: :lol:

Did you just wake up from your arvo nap to watch Deal or No Deal :thumbsup:


(all in good fun Brian...No offence intended mate! )
 
Jase....Jack is on the money with his American size...If you can't find one in the correct size I can order you one?

Check this out.....


BALL,M/T POWER TRAIN 1/4 " 1992.10.1 - 1993.11.3

<1 USD
 
lol its all good , machinist at work had spared lying around , car will go back up on the hoist monday and ill do ti then and let you know
 
Back
Top